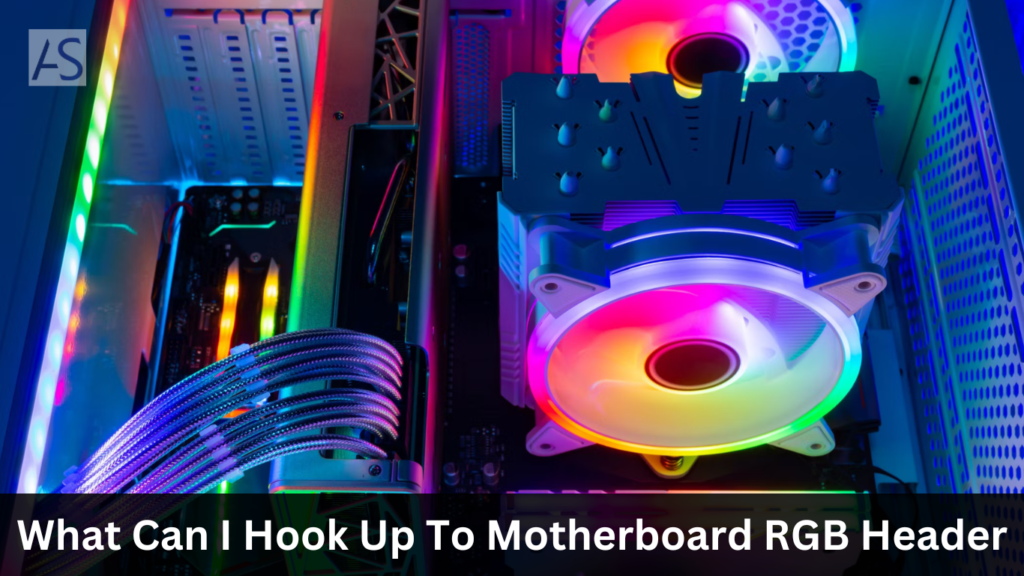
In the world of custom PC builds, personalization and aesthetics have become as crucial as performance. An integral facet of this trend is the incorporation of RGB (Red, Green, Blue) lighting, which can transform a simple setup into a dazzling display of colors and effects.
This guide aims to shed light on RGB headers, the unsung heroes behind the scenes, enabling the seamless integration of RGB components with your motherboard.
We’ll explore the types of RGB headers, how to connect them correctly, and tips to enhance your build’s visual appeal without compromising its performance.
Whether you’re a seasoned builder or new to the game, understanding RGB headers is key to illuminating your PC build with a personalized touch.
Understanding RGB Lighting and Motherboard RGB Headers
RGB lighting allows for the selection of virtually any color by mixing red, green, and blue light in varying intensities. This customization capability has made RGB a popular choice for PC builders looking to add a personal touch to their setups.
Central to controlling RGB lighting within a PC is the motherboard RGB header. This small interface on the motherboard provides power and signal control for RGB components.
Essentially, it’s the conductor of your PC’s light show, allowing for synchronization and management of all your RGB components through software provided by the motherboard’s manufacturer.
Components That Can Connect to an RGB Header
Many components and accessories can tap into the RGB header’s capabilities, including:
1. Fans: RGB fans can both cool your system and enhance its look. Connecting them to the RGB header syncs their lighting with the rest of your system.
2. Coolers: Whether air or liquid, many CPU and GPU coolers come with RGB lighting, offering a striking visual in addition to efficient cooling.
3. LED Strips: Perhaps the simplest way to add RGB to your system, LED strips can be placed around the inside of your case for ambient lighting.
4. RAM: Some high-end RAM modules feature RGB lighting, which can be controlled through the motherboard to match or complement the system’s color scheme.
5. Cases: Many modern PC cases come with built-in RGB elements that can be connected to and controlled via the motherboard.
Selecting Compatible RGB Components
Compatibility is key when selecting RGB components. Look for products that specifically mention compatibility with your motherboard’s RGB system (e.g., ASUS Aura Sync, MSI Mystic Light Sync, or Gigabyte RGB Fusion). This ensures smooth synchronization and control of your RGB lighting.
How to Connect RGB Components to a Motherboard
Connecting RGB components to a motherboard is straightforward, but careful handling is vital. Follow these steps:
- Identify the RGB Header: Look for a small, typically 4-pin connector labeled “RGB” on your motherboard.
- Prepare the RGB Component: Ensure your RGB component has a compatible connector—usually a 4-pin male connector.
- Connect: Gently connect the component’s RGB connector to the motherboard’s RGB header, aligning the pins correctly.
- Manage Cables: Keep cables tidy to maintain good airflow and aesthetics within your case.
- Configure Lighting: Use your motherboard’s software to configure and synchronize your RGB lighting.
Real-Life RGB Masterpieces
Many PC builders have taken RGB customization to impressive heights, creating setups that not only showcase powerful performance but are also visually captivating.
From subtle highlights to full-on light shows, the possibilities are endless, demonstrating how RGB lighting can transform a PC build into a work of art.
Conclusion
Motherboard RGB headers are gateways to a vibrant world of PC customization.
Whether you’re building a PC for gaming, content creation, or simply to have a unique and visually appealing setup, understanding how to leverage the RGB header can add a new dimension to your build.
With the right components and a bit of creativity, you can design a system that truly stands out.


