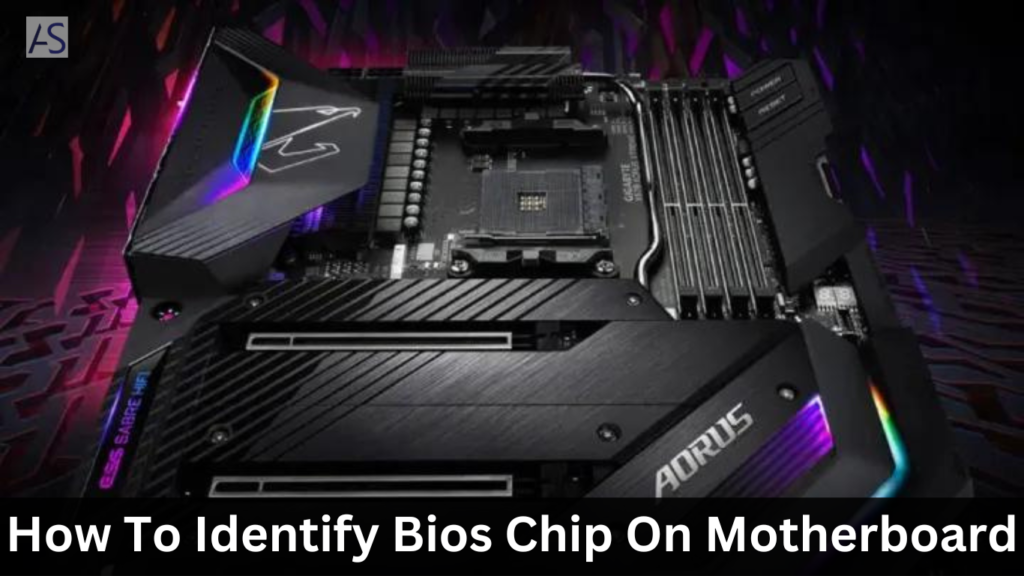
When tinkering with a computer, understanding every component on the motherboard is crucial, especially if you plan on upgrading, repairing, or diagnosing hardware issues.
One of the key components that often go overlooked is the BIOS (Basic Input Output System) chip. This tiny yet significant chip carries immense responsibility, booting up your computer and ensuring the operating system runs smoothly on the hardware.
Here’s an in-depth guide on how to identify the BIOS chip on a motherboard a step that’s easier than you’d think, yet vital for any hardware enthusiast.
Understanding BIOS Chip
Definition and Purpose: The BIOS chip, a non-volatile ROM chip, is the heart of the motherboard’s firmware.
It’s where the BIOS software is stored, initializing and managing data flow between the computer’s operating system and attached devices like the hard drive, video adapter, keyboard, mouse, and printer.
Role in Motherboard Functionality: It plays a crucial role in the startup process of a computer.
The moment you press the power button, the BIOS kicks in, performing a POST (Power-On Self Test) to ensure all hardware components are functioning properly. Then, it boots the operating system from a hard disk or other media.
Methods to Identify BIOS Chip
Visual Inspection
Identifying Chip Location: Usually, the BIOS chip resides near the CPU socket or DIMM slots for easy access and functionality. Its position might vary depending on the motherboard’s make and model.
Noting Chip Characteristics:
- Size, Shape, and Color: The BIOS chip is typically small, flat, and square but can also be rectangular. Its color often contrasts with the motherboard for identification ease, though this is not a strict rule.
- Presence of Stickers or Labels: Some BIOS chips have a sticker or label indicating the BIOS version or the chip’s manufacturer.
Locating Markings and Labels: These include the model number, manufacturer logo, and sometimes a revision number.
These markings are critical for identifying the exact BIOS version and specifications.
Referring to Documentation
Accessing Motherboard Manual: A treasure trove of information, the motherboard manual whether in physical copy or digital format on the manufacturer’s website contains specifics about the BIOS chip, including its location and details.
Identifying BIOS Chip Information: Look for a dedicated section on BIOS or chipset specifications that outlines detailed information about the BIOS chip.
Using Software Tools
BIOS Identification Software: Several tools available for download can scan your system’s BIOS, providing you with detailed information without physically inspecting the motherboard.
System Information Utilities: Operating systems come equipped with built-in tools that can fetch and display BIOS information, among other system details.
This method is handy for those not comfortable with manual inspection or without immediate physical access to the motherboard.
Visual Inspection Tips
- Lighting and Magnification: Ensure adequate lighting and use a magnifying tool if necessary. BIOS chips are small, and their markings can be challenging to read.
- Avoid Touching: Be cautious not to touch other components, especially with static electricity. Ground yourself before handling the motherboard.
Conclusion
Identifying the BIOS chip on a motherboard might seem daunting initially, but knowing where and what to look for demystifies the process.
Whether you’re a seasoned tech enthusiast or just starting out, understanding the BIOS chip’s role and location is crucial for managing your computer’s health and performance.
From visual inspections to leveraging software and documentation, the methods provided here will equip you with the knowledge to confidently identify the BIOS chip in your endeavors.
Remember, handling motherboard components requires care and precision approach with respect for the delicate electronics at play.


