

There are a few different ways to take a screenshot on a Gateway laptop. The most common way is to press the “Print Screen” button, which is typically located near the top of the keyboard. This will take a picture of your entire screen and save it to your clipboard. You can also use the Windows + Shift + S keyboard shortcut to take a screenshot of just your active window.
This can be helpful if you only want to capture part of what’s on your screen. If you’re using Windows 10, you can also use the Snipping Tool to take screenshots. This tool allows you to select an area of your screen to capture, and it can be found in the Start menu.
Finally, if you want to take a screenshot of just one application window, you can use the Alt + PrtScn keyboard shortcut. This will take a picture of the currently active window and save it as a PNG file.
How to take a screenshot on a Gateway laptop?

There are two ways to take a screenshot on a Gateway laptop: by using the Print Screen function or by using the Snipping Tool.
To take a screenshot using the Print Screen function, first, make sure that the image you want to capture is visible on your screen. Then, press the “Print Screen” button on your keyboard. This button is usually located near the top-right of the keyboard and has “PrtScn” or “Print Screen” written on it.
Once you’ve pressed the Print Screen button, open up an image editings program like Microsoft Paint or Photoshop. Then, press Ctrl + V (or Command + V on a Mac) to paste the screenshot. Save your image, and you’re done!
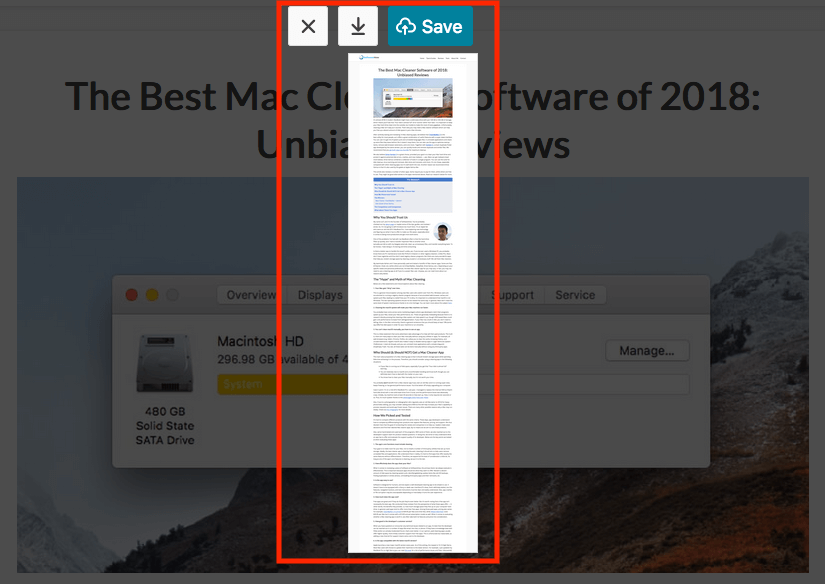
To take a screenshot using the Snipping Tool, open up the Snipping Tool program from your Start menu. Once the program is open, click and drag your mouse to select the area of your screen that you want to capture. Then, click on the “Save” button to save your snip as an image file.
How to take a screenshot of a specific area?

To take a screenshot of a specific area on your Gateway laptop, follow these steps:
1. Press the Print Screen key on your keyboard. This will take a snapshot of your entire screen.
2. Open the Paint program on your computer. You can find this in the Start menu under All Programs.
3. Paste the screenshot into the Paint program by pressing Ctrl+V on your keyboard.
4. Use the crop tool to select the specific area you want to capture in your screenshot.
5. Save the image by clicking File > Save As… and choosing a file format such as JPEG or PNG.
How to take a screenshot of the entire screen?
If you need to take a screenshot of your entire screen, the process is pretty simple. Just follow the steps below:
1. Press the Print Screen key on your keyboard. This will take a snapshot of your current screen.
2. Open up an image editings program like Paint or Photoshop.
3. Press Ctrl + V (or Command + V on a Mac) to paste in the screenshot.
4. Save the file and you’re done!
How to edit and annotate a screenshot?
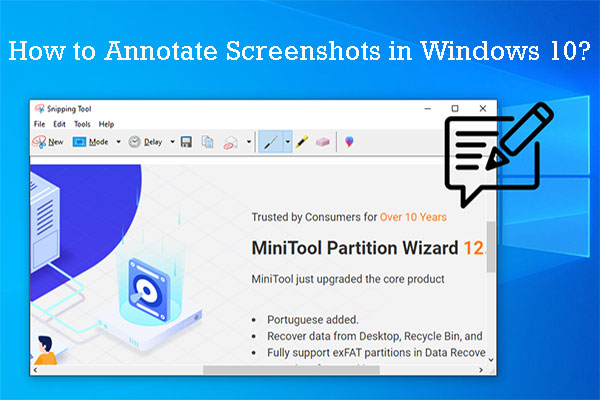
If you want to edit and annotate a screenshot on your Gateway laptop, there are a few simple steps you can follow.
First, take a screenshot of the image you want to edit using the Snipping Tool.
Next, open the screenshot in an image editor like Paint or Photoshop. Once you have the image open in the editor, you can use the various tools to annotate and edit the screenshot as desired. When you are finished, save the image and it will be ready to share with others.
How to save a screenshot?

If you want to take a screenshot on your Gateway laptop, there are a couple of different ways that you can do it. One way is to use the Print Screen button on your keyboard. To do this, simply press the Print Screen button and then paste the screenshot into an image editings program like Paint or Photoshop.
Another way to take a screenshot on your Gateway laptop is to use the Snipping Tool. This is a built-in Windows program that allows you to select an area of your screen and save it as an image file. To use the Snipping Tool, simply launch the program and then select the area of your screen that you want to capture. Once you have made your selection, click on the “Save” button and choose where you want to save your screenshot.
Conclusion
There are a few different ways to take a screenshot on a Gateway laptop, and the best method for you will depend on what you want to do with the screenshot afterward. If you just need to save the image for personal use, the easiest way is to use the Windows Snipping Tool. For more complicated uses, like editing or sharing the image, you’ll need to use the Print Screen button or third-party software. Whichever method you choose, taking screenshots on your Gateway laptop is easy and straightforward.